

You've finished a design and the client says: "Great, can it go on our WordPress site?" A week later a developer asks for it in React. Then someone wants to edit the text without calling you. Normally that means building the same site three times.
Canvasly Web Studio takes a different route. You design once, visually, and export clean, semantic HTML to whatever the project needs: WordPress, a React (Next.js) project, Payload CMS, Astro or a plain static site. This guide covers each export, step by step, and how to pick the right one.
Why "export clean HTML" matters
Most page builders save your design as their own data: shortcodes, JSON or nested wrapper elements that only their plugin can read. Switch platforms and you start over. Keep the plugin and every page loads the builder's whole framework.
Canvasly compiles your design into ordinary web files instead. Every export, whatever the target, contains:
- Semantic HTML5 for every page (header, main, footer).
- One
main.min.css, with each unit's CSS included only if the page uses that unit. - One
app.min.jswith only the features your pages use. A page with no interactive units ships no JavaScript at all. - Images converted to WebP, plus
sitemap.xml,robots.txtand JSON-LD structured data.
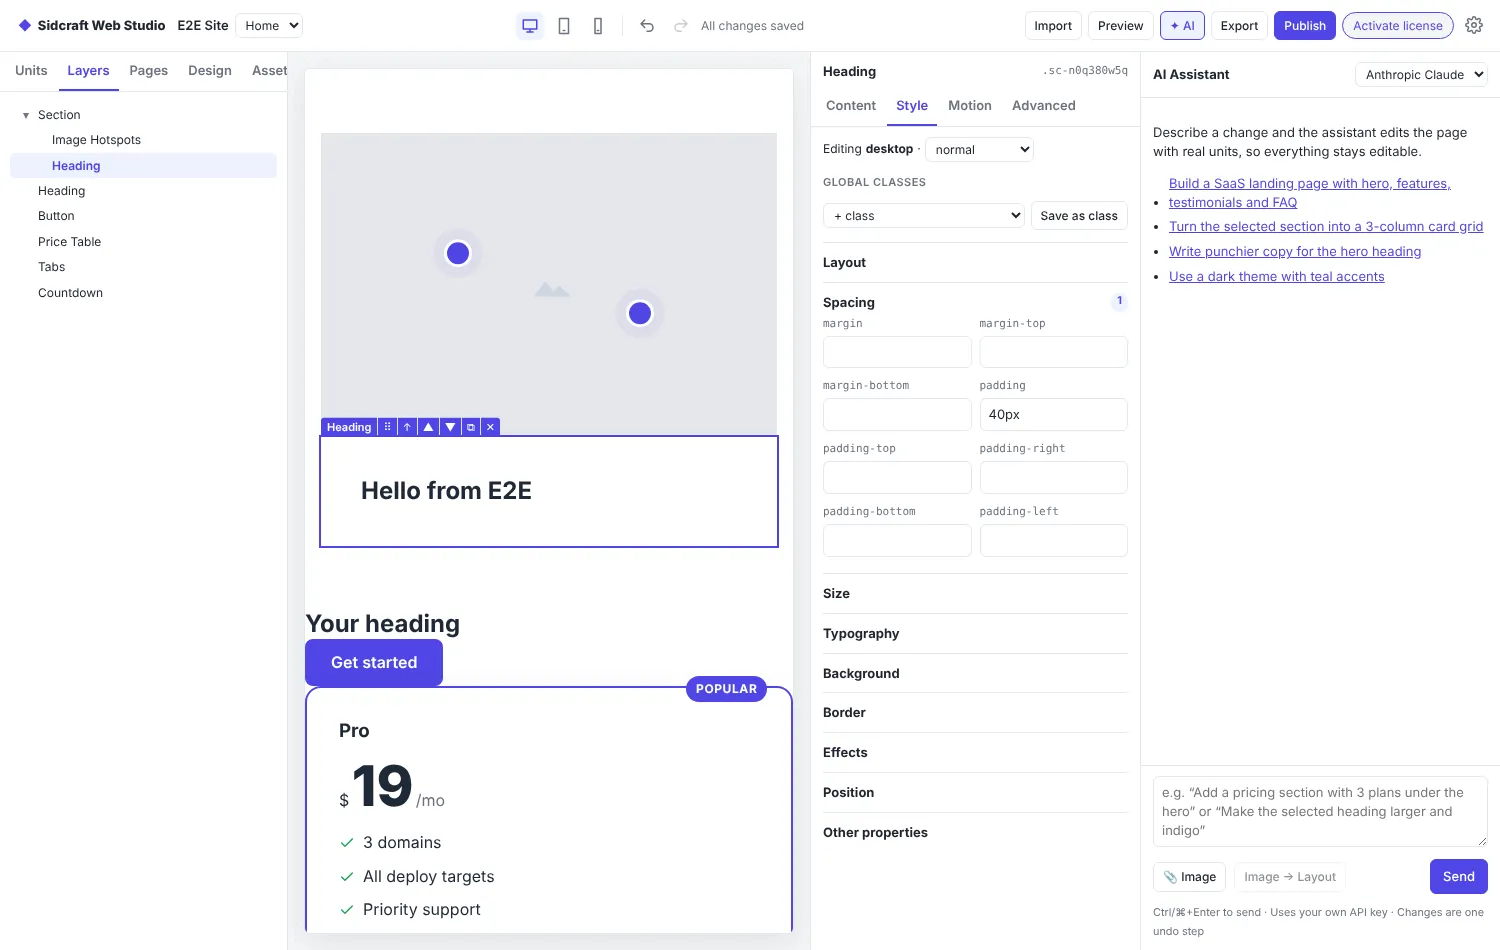
You build pages from units (headings, buttons, price tables, tabs, forms and more) on a visual canvas. Click Preview in the top bar to see the real export build before you publish anything. When you're ready, click Export and choose what to export as: Static website, WordPress, React (Next.js project), Astro project or Payload CMS.
Option 1: Export your design to WordPress
Best for: clients who already run WordPress and want to manage pages and posts there.
New in Canvasly 2.5, every page becomes a WordPress page or post that looks exactly as it does in Canvasly, without a page builder plugin.
Export
- Click Export and set Export as to WordPress (pages or posts to import).
- Enter the production domain.
- Choose Import as (Pages or Posts) and Status after import (Drafts or Published).
- Click Export .zip.
The zip contains:
| File | What it is |
|---|---|
wordpress-import.xml |
Your pages or posts, for WordPress's own importer. Large sites are split into 8 MB files. |
canvasly-….zip |
A small plugin with the site's styles, scripts, images and the Canvasly full page template. |
README.txt |
The import steps, for whoever does the import. |
Import into WordPress
- Sign in as an administrator. WordPress strips scripts and styles from content imported by other roles.
- Go to Plugins → Add New Plugin → Upload Plugin, upload
canvasly-….zip, then click Install Now and Activate. - Go to Tools → Import → WordPress and upload
wordpress-import.xml. Leave Download and import file attachments unticked, because the files are already in the plugin. - Open Pages or Posts and publish the drafts you want. To use one as the home page, go to Settings → Reading → A static page.
Why it's faster than a WordPress page builder
- Only the code each page uses. The plugin carries the same compiled stylesheet and script as a static export.
- No lock-in. Each page is a standard Custom HTML block that you can still edit in WordPress, not builder data or shortcodes.
- The theme can't break the design. The Canvasly full page template prints the page exactly as exported. To show a page inside your theme instead, pick another template.
- Works at any address. Links and file paths are filled in when the page is shown, so the same export works on staging, on the live site or in a subfolder.
- Search-ready. Titles, descriptions, social tags and JSON-LD come along.
Forms keep posting to the endpoint you set in Canvasly. To update the site later, export again, upload the new plugin (WordPress offers Replace current with uploaded), remove the old pages and import the new file.
Option 2: Export your design to React (Next.js)
Best for: developers who want to carry on in React, or teams that deploy to Vercel.
New in Canvasly 2.6, Export → Export as → React (Next.js project) turns every page into a React component in a ready-to-run Next.js project:
npm install
npm run dev        # http://localhost:3000
npm run build      # static site in out/, for any web host
npm run preview    # look at the built site
What the conversion takes care of:
- Each page's content is JSX in
app/(page)/…/page.jsx, with its own layout for the title, SEO tags and styles. - HTML becomes valid React:
classbecomesclassName, inline styles become style objects, and form fields keep their starting values. - The page's scripts run in their original order once React has loaded the page, and inline handlers keep working, so pages look and behave as they did in Canvasly.
- To deploy to Vercel, import the project at vercel.com/new or run
npx vercel. No settings are needed.
You'll need Node.js 20.9 or newer on the computer where you open the project.
Option 3: Export your design to Payload CMS
Best for: clients who want to edit their own pages without touching Canvasly or calling you.
New in Canvasly 2.6, Export → Export as → Payload CMS creates a Payload 3 project with your pages already loaded:
- Run
npm installandnpm run dev. The site opens atlocalhost:3000and the admin at/admin. - Create the first user, who becomes the administrator. Your Canvasly pages are imported on first start, as drafts or published.
- Under Pages, edit each page's title, address, description and HTML, then use Save Draft, Preview and Publish changes.
Visitors get each page as complete HTML with no React on the page, so it's as fast as the static site. Payload uses SQLite, so you only need Node.js (22.23.4 or newer, or 24.22.1 or newer). Run it on your own server with npm run build && npm start. To host Payload on Vercel, use a hosted Postgres database such as Vercel Postgres, Neon or Supabase. The export's README has the steps.
Bonus: Astro and plain static HTML
- Astro project: one route per page in
src/pages/, with each page's content as plain HTML insrc/canvasly/. Runnpm run buildto get a static site for any host. - Static website: publish straight from Canvasly to a zip, FTP/FTPS, SFTP, GitHub Pages, Netlify or Vercel. Vercel uploads only the files that changed and reports a failed build. Passwords and tokens stay in your local settings, never in the project file.
Which export should you choose?
| If you need… | Export as |
|---|---|
| Pages inside an existing WordPress site | WordPress |
| A codebase developers will extend in React, or Vercel hosting | React (Next.js) |
| A simple editor so clients update their own pages | Payload CMS |
| A content-focused framework with plain HTML pages | Astro |
| The fastest, cheapest hosting with nothing to maintain | Static website |
Because it's the same design every time, you don't have to choose up front. Start with a static site today and export to WordPress or Payload when the client asks.
FAQ
Do I need Elementor, Divi or another page builder plugin in WordPress? No. The export includes its own small plugin with only the CSS and JavaScript your pages use, and each page is a standard Custom HTML block.
Can I still edit the pages after exporting? Yes. Edit them in WordPress as Custom HTML blocks, in Payload's admin, or as JSX or HTML in the Next.js and Astro projects. Or change the design in Canvasly and export again.
Do forms keep working after export? Yes. On a static site and in WordPress, forms keep posting to the endpoint you set in Canvasly, such as a webhook, Formspree, Netlify Forms or your own endpoint.
Try it
Canvasly Web Studio comes with a 7-day free trial, with no license key needed. Follow the install guide, read the full export and publish documentation, or compare plans and licensing.